
How to Film Crochet Products Without Hiding the Stitches
Crochet & Knitting · CraftToCamera
Show the whole piece, then give the stitches their own light and a steady close view.
Your crochet bunny looks beautiful on the table. But on your phone, the stitches disappear. Before adding another light, move the one you already have. A small change in its direction can give the yarn the depth that a flat, bright view is missing.
I’d start with one finished piece and four useful views, rather than trying to film everything you make in one session. We’ll work through the background, stitch detail and handling, then check the clips together. You’ll know what to change if the yarn looks flat, your hand hides the pattern or the phone keeps focusing somewhere else.
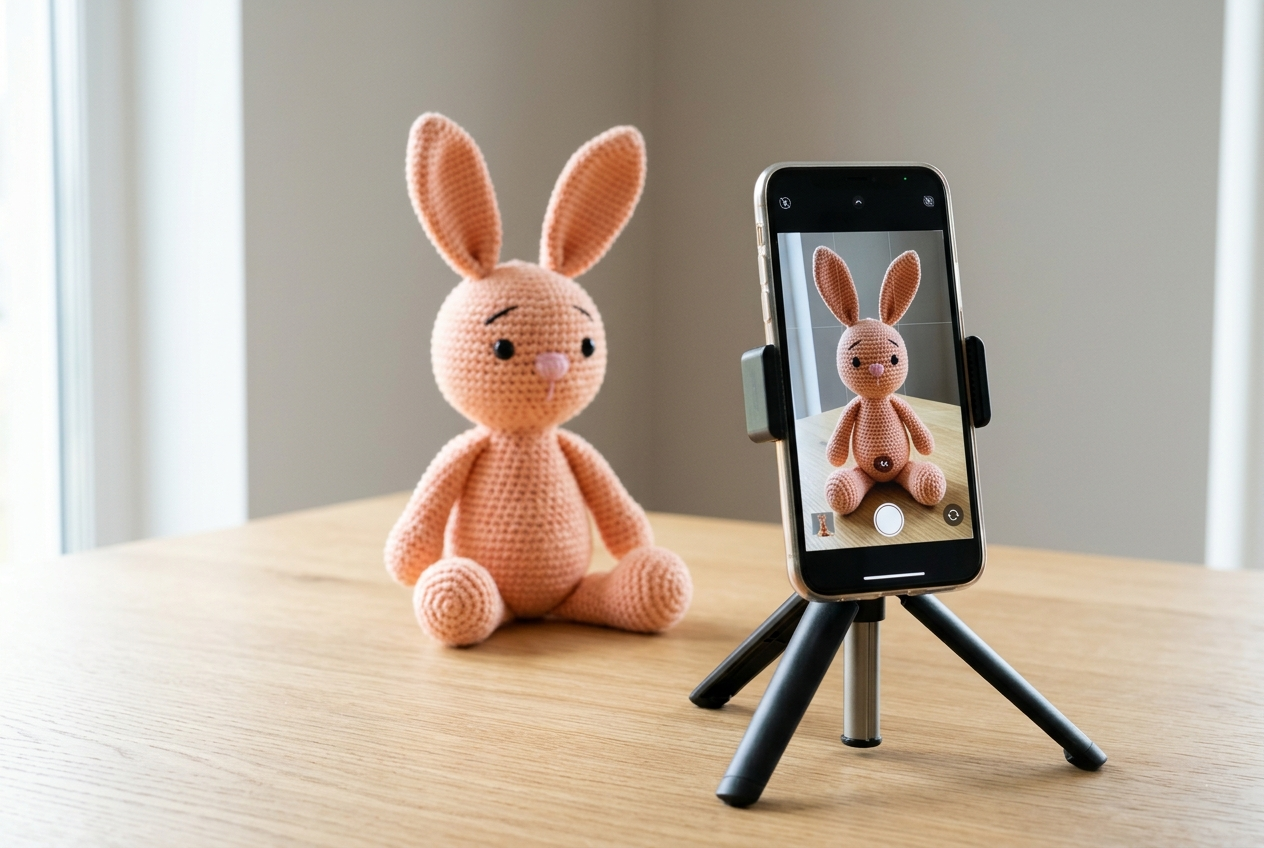
Decide what this crochet video needs to explain
A plush bunny, a market bag and a ribbed scarf do not need identical videos. Before arranging your background, write one sentence describing the feature you want someone to notice. For a bunny, it might be the small embroidered face. For a bag, it might be the roomy opening or sturdy handle. For a scarf, it might be the way the ribbing stretches and settles.
That sentence helps you choose footage. A close view of the face belongs in the bunny video, but a long clip of an unrelated yarn basket probably does not. I like to separate an attractive atmosphere from information about the product. You can include both, but the atmosphere should leave enough time for someone to actually see what you made.
Choose one finished piece for the first session. Recording five colors at once introduces extra decisions about arrangement, exposure and continuity. Once you have a sequence that works, repeat it for another color while the camera position and background are still available.
Find a background that separates the yarn
Look at the outline through the phone before judging the setup with your eyes. Cream yarn against a cream blanket may feel coordinated in the room while becoming almost invisible on a small screen. A muted taupe surface, pale gray card or quiet wood background can give light stitches enough separation without making the scene busy.
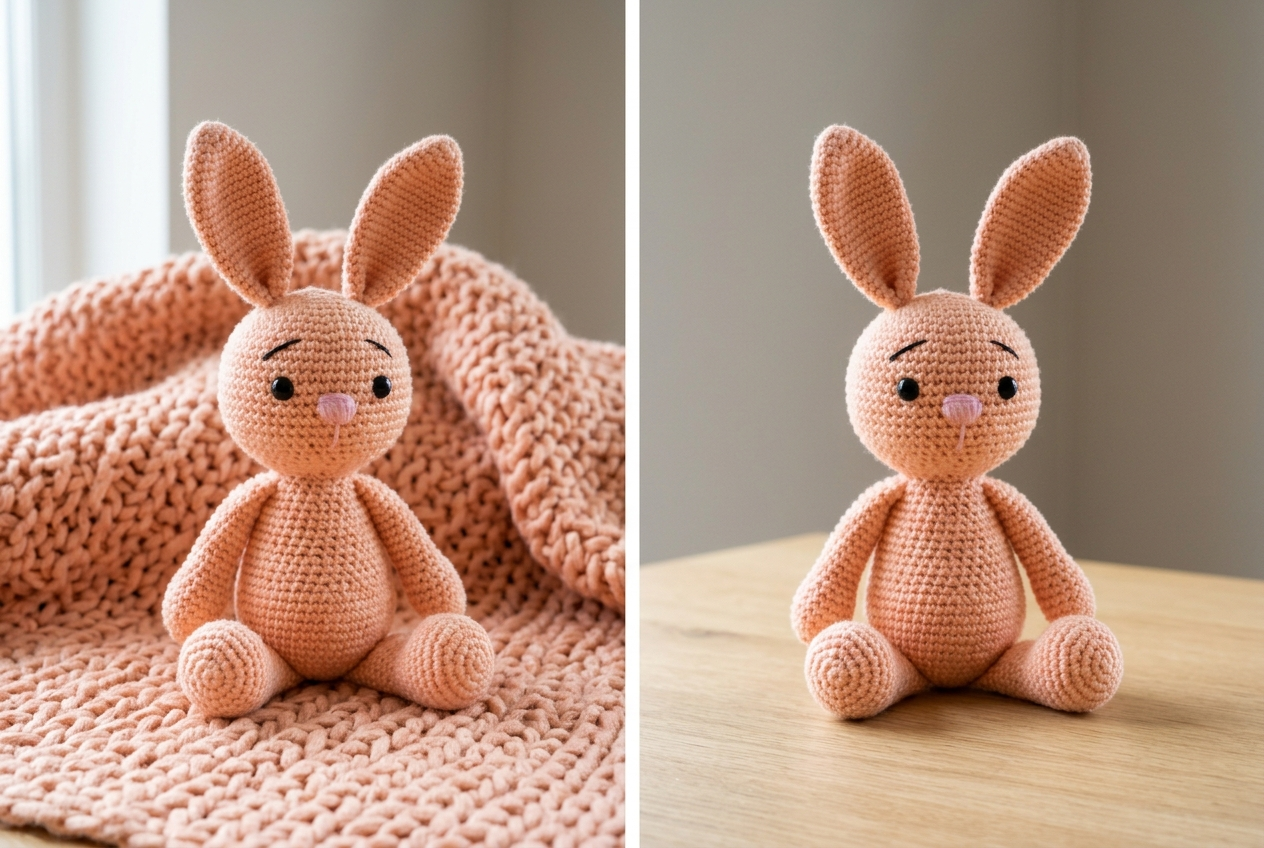
For dark yarn, try a medium or light background and check whether individual rows remain visible. Increasing brightness until the background becomes white does not necessarily reveal the stitching. Instead, change the direction of the light and move the piece slightly away from a dark wall. If there is a bright pattern behind the work, remove that distraction before changing camera settings.
Keep props outside the product’s outline. A hook and a small amount of matching yarn can explain the craft, but a large pile of supplies can hide the finished shape. Leave space around ears, handles, fringe and other projecting parts. Those edges are easy to crop accidentally when preparing the clip for another placement.
Use side light to describe the stitches
Start near a window with the light arriving from one side of the piece. Watch the small shadows between the stitches. Those shadows help communicate raised texture. If the window is directly behind the phone, the surface may look more evenly lit but less dimensional. Move the setup a little and compare a short test rather than assuming brighter always means better.
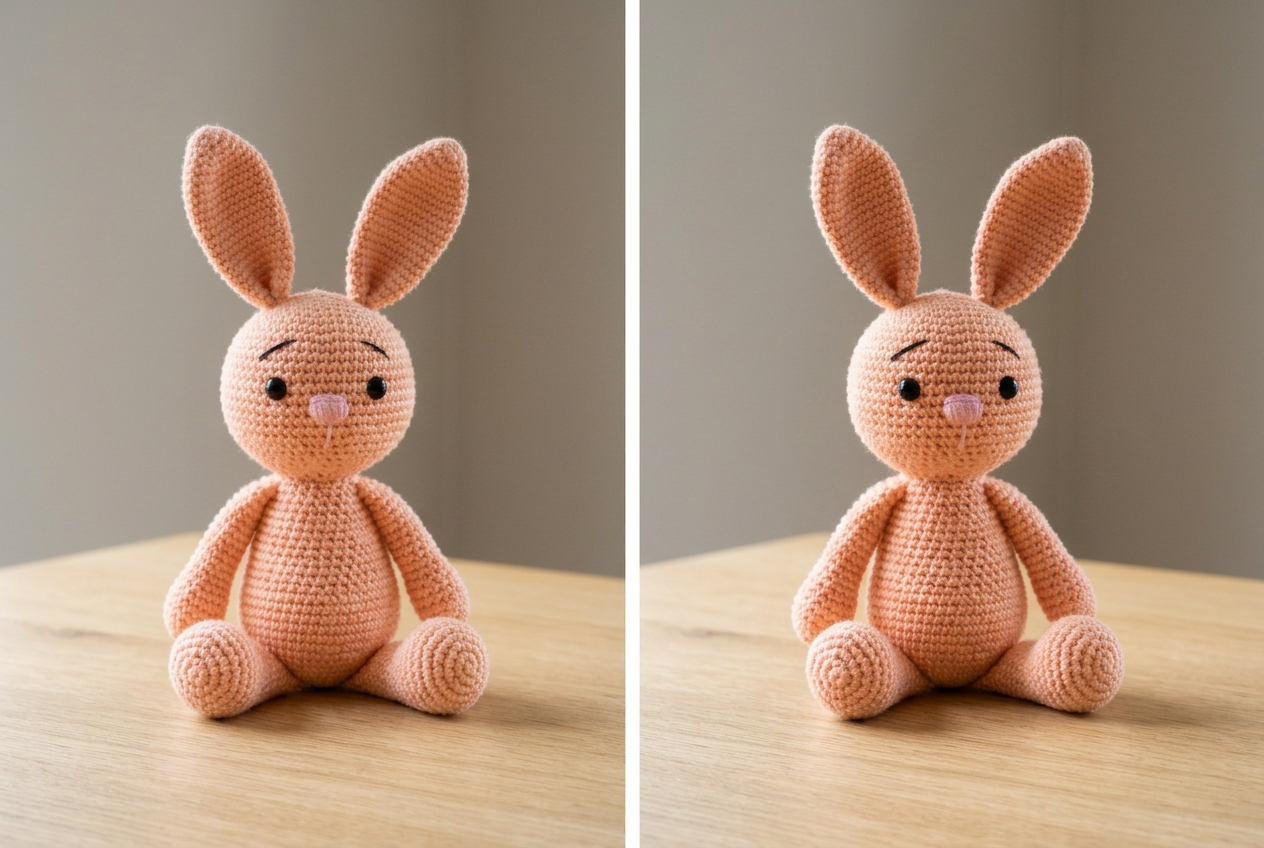
If one side becomes too dark, place a plain white card opposite the window, outside the frame. Move it closer gradually. The purpose is to lift a heavy shadow while keeping enough contrast to describe the yarn. If the card removes every small shadow, move it back and look again.
Avoid combining daylight with a strongly warm room lamp when it makes one side of the yarn yellow and the other blue. Choose the light that gives a believable color, then keep it consistent through the sequence. A passing cloud can change a take, so review your clips together before packing away the setup.
Choose focus before moving the camera
A stitch detail is only useful when the actual yarn is sharp. Clean the camera lens, frame the detail and use the focus control your camera provides. If moving closer produces a blurry image, pull back until the phone can focus. A modest crop from a clear clip is often more useful than an extremely close recording with no readable texture.
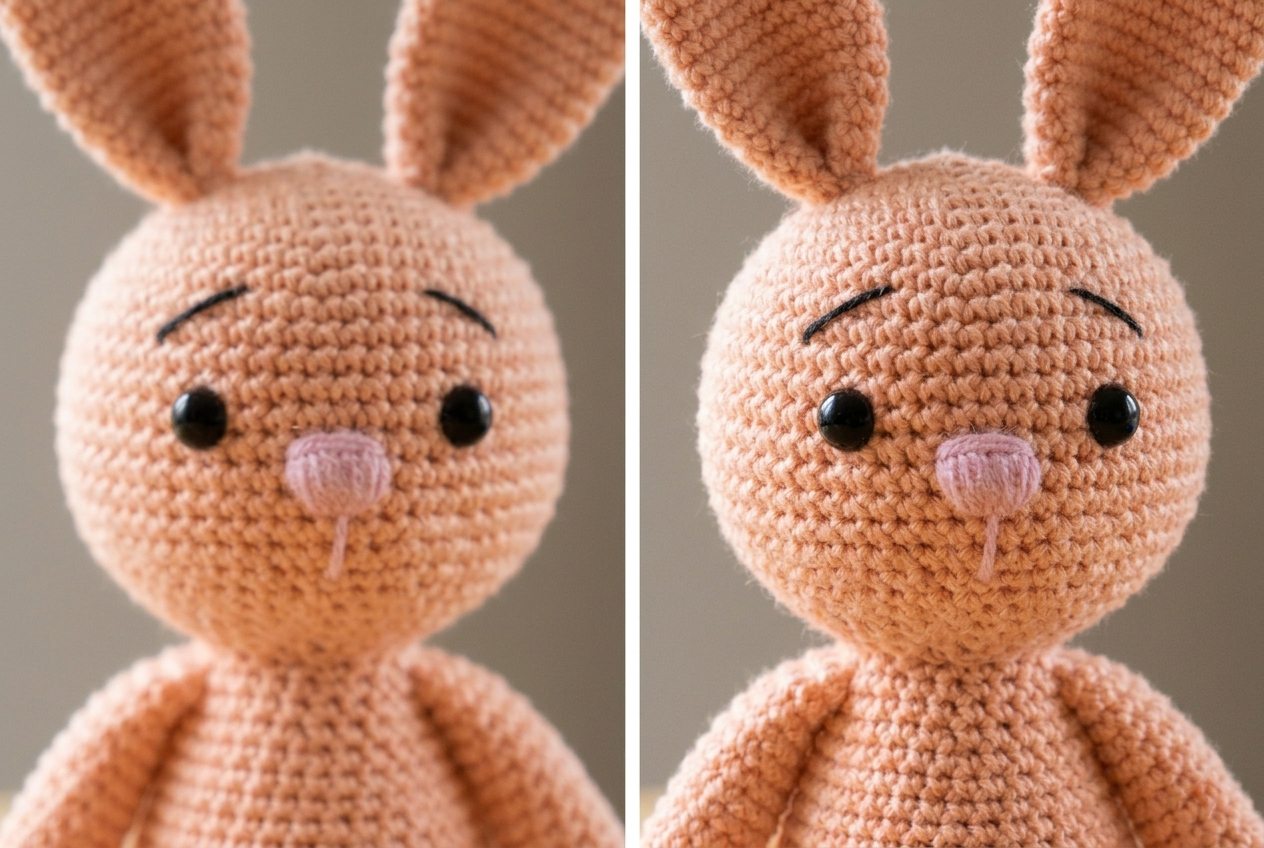
Don’t assume that tapping once will hold focus during every movement. Camera behavior differs by device and mode. Test whether focus stays on the crochet when a hand enters the frame. If the phone repeatedly switches to your fingers or the background, simplify the movement and use focus locking where your camera supports it.
Keep the most important stitched surface at roughly the same distance from the lens during the take. A slow sideways move is easier to manage than moving directly toward the product. If the whole item is deep, such as a rounded toy, choose which part needs to be sharp instead of expecting the front and back to look identical.
Film four clips that answer different questions
Begin with a complete view. Let the viewer see the silhouette and recognize the object before cutting closer. Keep the camera steady and allow a brief moment without movement. A bunny’s ears, a bag’s handles and a scarf’s ends should all be visible when they help explain the shape.
Next, record one detail that adds information. Show the stitch pattern, an embroidered feature or a neat edge. Place the camera where the detail reads clearly and keep fingers away from it. You can point briefly, then remove your hand so the viewer has a clean view of the work.
Use the third clip for scale or function. Hold the bunny without squeezing it into a different shape, open the bag, or gently unfold the scarf. Show the real behavior of the item. Finish with a quiet result: the complete piece standing, hanging or lying in the position you intend to present. These clips can be recorded separately; they do not need to happen in one continuous performance.
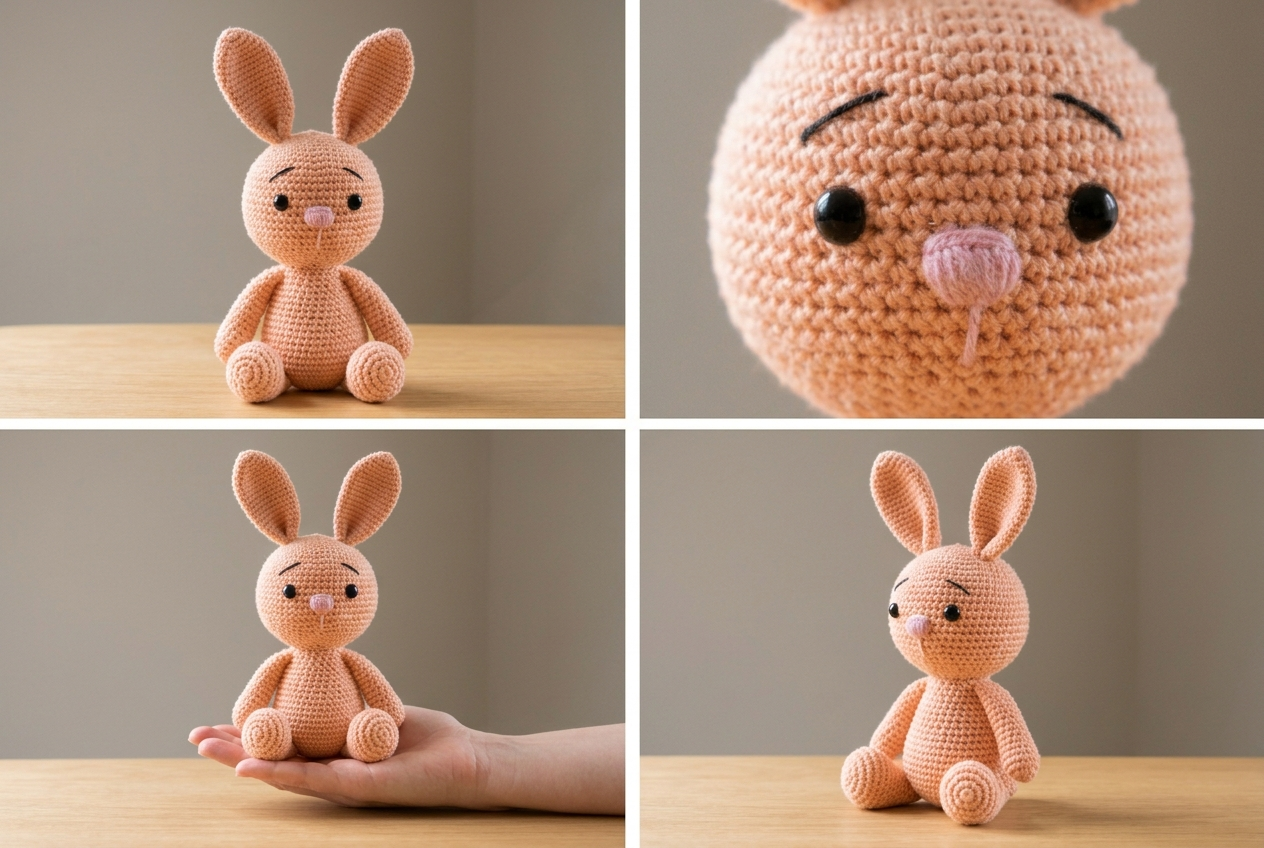
The side-light checks used in crochet photography tutorials also work for filming: take a still test of the stitch rows, then keep the yarn at the same distance while recording the detail.
Keep hands useful and movement small
Hands should enter for a reason. They can show the size of a plushie, open a pouch or reveal how fabric drapes. When the video is simply introducing a finished item, two hands constantly turning it may conceal more than they explain. Record a clean product view first, then add the handling clip.
Plan where your fingers will rest. Hold a bag below its main stitch panel, support a toy from underneath, and avoid covering the feature you are describing. Do one short rehearsal while watching the phone. If your wrist blocks the light, change your approach from the side rather than trying to correct a deep moving shadow later.
One movement per clip is usually enough for this kind of product demonstration. Turning, lifting and moving closer at the same time makes focus and framing harder. Let the action finish, pause, and stop recording. You will have clearer starting and ending points when you assemble the sequence.
Mistakes that make crochet footage harder to read
Making every shot a close-up. Beautiful texture does not explain the whole product. Include a complete view early so the viewer understands whether they are seeing a pouch, a garment or a toy. Then the close detail has a context.
Using a textured background that competes with the stitches. A chunky blanket behind a crocheted piece adds a second pattern with similar visual weight. Replace it with a quieter surface and let the handmade texture become the strongest detail in the frame.
Moving to hide a focus problem. A slow pan is still blurry when the subject is outside the camera’s focusing range. Stop, correct the distance, and record the detail again. Check the saved clip, because a small live preview can disguise softness.
Changing the yarn color during editing. A warm filter may make the whole scene attractive while turning cream into yellow or a muted pink into coral. Compare the edited footage with the actual piece in neutral light. Make small corrections and keep the product recognizable.
Review the sequence as a potential customer
Watch the clips with the sound off. Can you identify the product, see one worthwhile detail and understand its approximate size or use? If two clips answer the same question, replace one with a missing view instead of adding more footage. A short, informative sequence feels more purposeful than several similar rotations.
Add captions in open space rather than across the stitch pattern. Use them for information the image can’t explain alone, such as the product name, dimensions or available color. Keep important words away from the frame edges and preview the actual placement where you plan to share the video. Platform overlays and crops can differ.
Save the clips with a useful name, such as the item, color and view. Note which background and window position worked. The next time you photograph a matching piece, that short record helps you build a consistent collection without having to remember every decision.
Frequently asked questions
Can I film crochet with only a phone?
Yes. A phone, stable support and suitable light can give you a practical starting point. Concentrate on clear focus and visible stitches before adding equipment. The specific camera controls available depend on your device.
Is an overhead angle always best?
It suits flat items and some making actions, but a standing plushie or hanging bag may read better from the front. Choose the angle that explains the product’s form, then use a separate detail view for the stitching.
How do I show dark yarn without making it gray?
Bring light across the surface and lift heavy shadows carefully. Avoid raising brightness so far that the dark yarn loses its depth. Check the original piece beside your footage and keep both its color and texture believable.
Should the making process be in every video?
No. A finished-product reveal can work with complete, detail and function views. Include a making clip when you can record a normal action clearly. You don’t need to recreate production just to fill a sequence.
What should I film when the item is already packed?
Show the real packaging, then plan a separate product session with an unpacked example when available. Do not imply a hidden detail is visible if the wrapping prevents the viewer from seeing it.
Turn one finished piece into a repeatable plan
Choose your piece, write the feature you want to show and list the four clips before filming. That small plan keeps the session manageable and gives you a way to decide when you have enough footage.
The CraftToCamera Crochet Content Kit on Etsy provides 15 illustrated crochet video ideas and planning resources for organizing a session. Use the relevant idea as a starting point, then adapt the shots to your own product’s shape, texture and purpose. Check the listing for the complete files and current contents.