Five Candle Video Shots That Show More Than the Label
Candles & Home Fragrance · CraftToCamera
Give each candle clip a different job: whole product, detail, process, scale and presentation.
Your candle has a lovely vessel, a neat wax surface and packaging you’ve put real thought into. But if every clip shows the label, most of that work stays off screen. You already have more to film. You just need to give the other details their own moment.
I’d build this session around five shots with different jobs: the complete candle, one close detail, a normal process moment, scale and the actual presentation. You don’t need a flame in every video or a new scene for every clip. Let’s choose the views that help someone understand this particular candle.
Plan the five shots before arranging the scene
Choose one finished candle or one clearly defined set. Write its name and the feature you want to emphasize: perhaps the vessel texture, a sculpted shape, the finishing of the wax, or a thoughtful box. That feature should influence the close view instead of appearing as an afterthought once the camera is already recording.
The five shots in this article are a complete product view, a meaningful close detail, an ordinary process moment, a scale or handling view, and a packaging or final presentation. They are roles, not rigid camera movements. A textured ceramic vessel and a clear glass jar can use the same roles while needing different angles and light.
Decide what belongs in the frame before bringing out props. A decorative tray may support a scene, but it should not make the candle’s outline hard to see. If accessories are not included, your listing information should make that distinction clear. Start with a simple version and add atmosphere only when the product remains easy to understand.
Shot one: introduce the complete candle
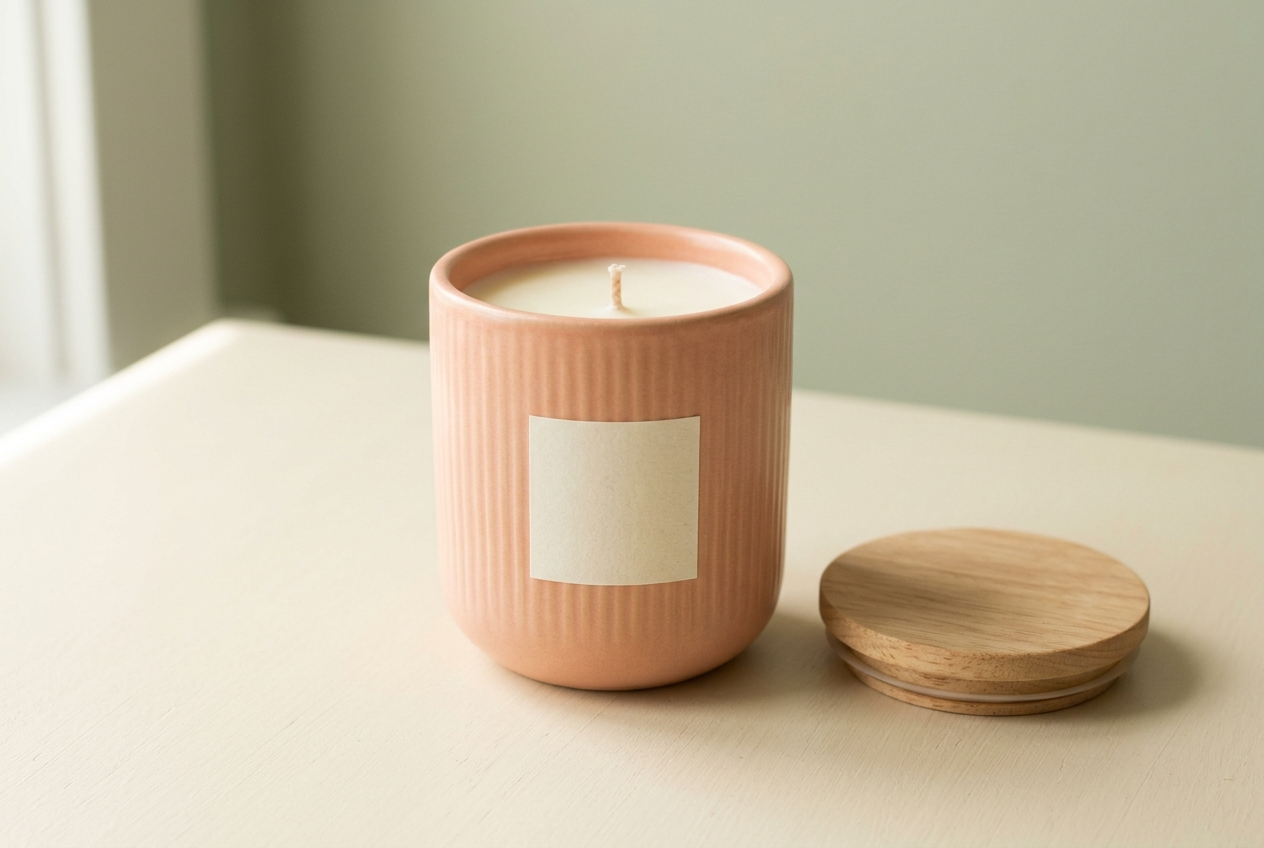
Position the finished candle on a stable surface and begin with the camera around the level of the main label or the middle of the vessel. This gives you a useful starting view of the shape. If the lid is part of the purchase, show it in a position where it doesn’t hide the candle or confuse the silhouette.
Leave a little space above and beside the product. A tight frame may look dramatic in the editor and then lose the lid or part of the vessel when displayed elsewhere. Check the actual composition through the phone. If the candle leans visually because the camera is tilted, straighten the camera before trying to correct perspective later.
Record a steady view before adding a camera move. Let the viewer recognize the product. A gentle turn can be useful for a wraparound design, but it is not compulsory. When the front already explains the candle, stillness can make the details easier to read than continuous movement.
Shot two: show a detail the label cannot explain
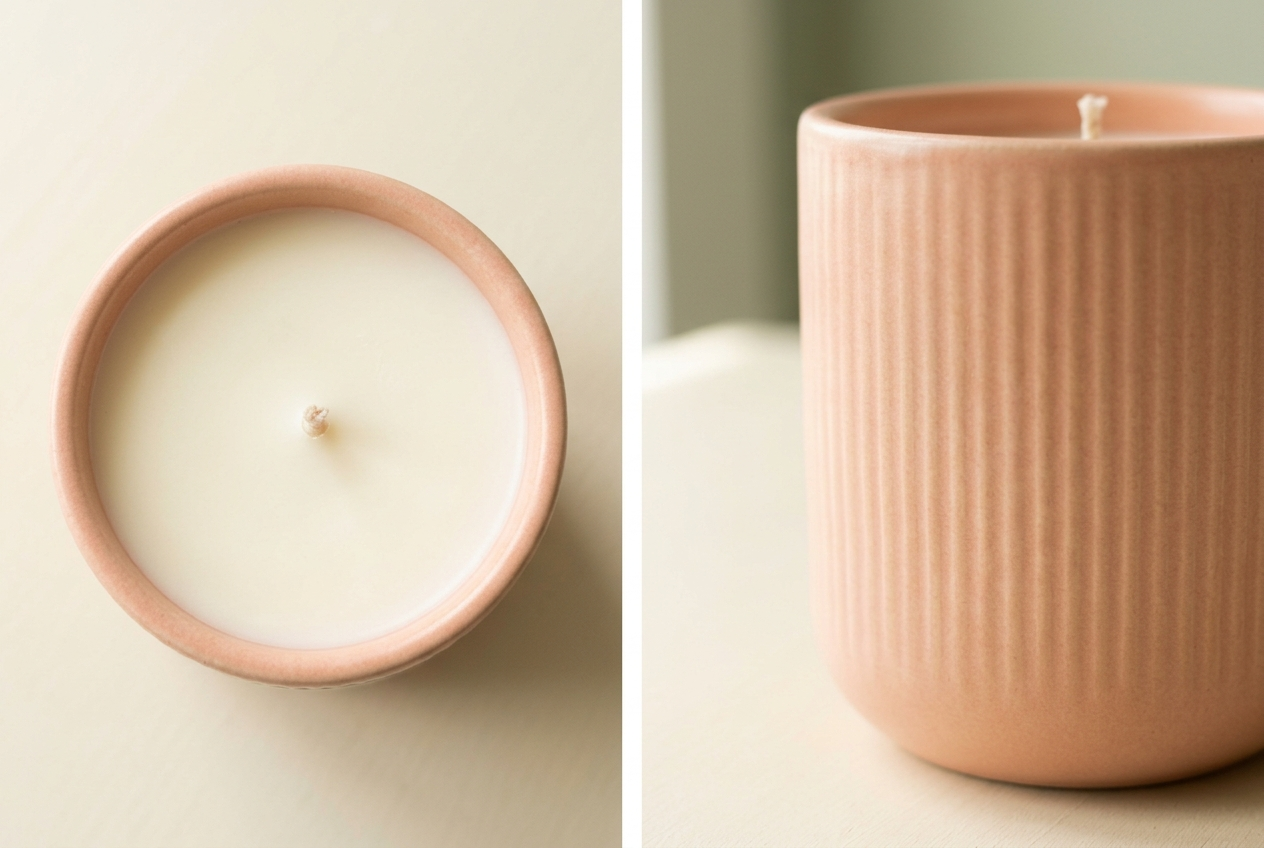
Move to the wax surface, vessel texture, lid detail or finish of the label. Choose a feature with a reason to be there. A close view of a textured vessel tells a different story from another full front shot. A top view can show the actual arrangement of the wax and wick without needing a lit flame.
For reflective glass, change the angle before making the scene brighter. A window reflection can run straight through the label or conceal the edge. Rotate the jar gradually and watch where the highlight moves. A plain white card outside the frame can simplify a distracting reflection, but leave enough variation for the glass to keep its shape.
Check focus on the detail itself. If your phone cannot focus at the distance you have chosen, pull back. Avoid relying on heavy sharpening to create texture that the recording did not capture. Keep the close clip steady and give the feature enough time to be understood before cutting away.
Shot three: include one normal process moment
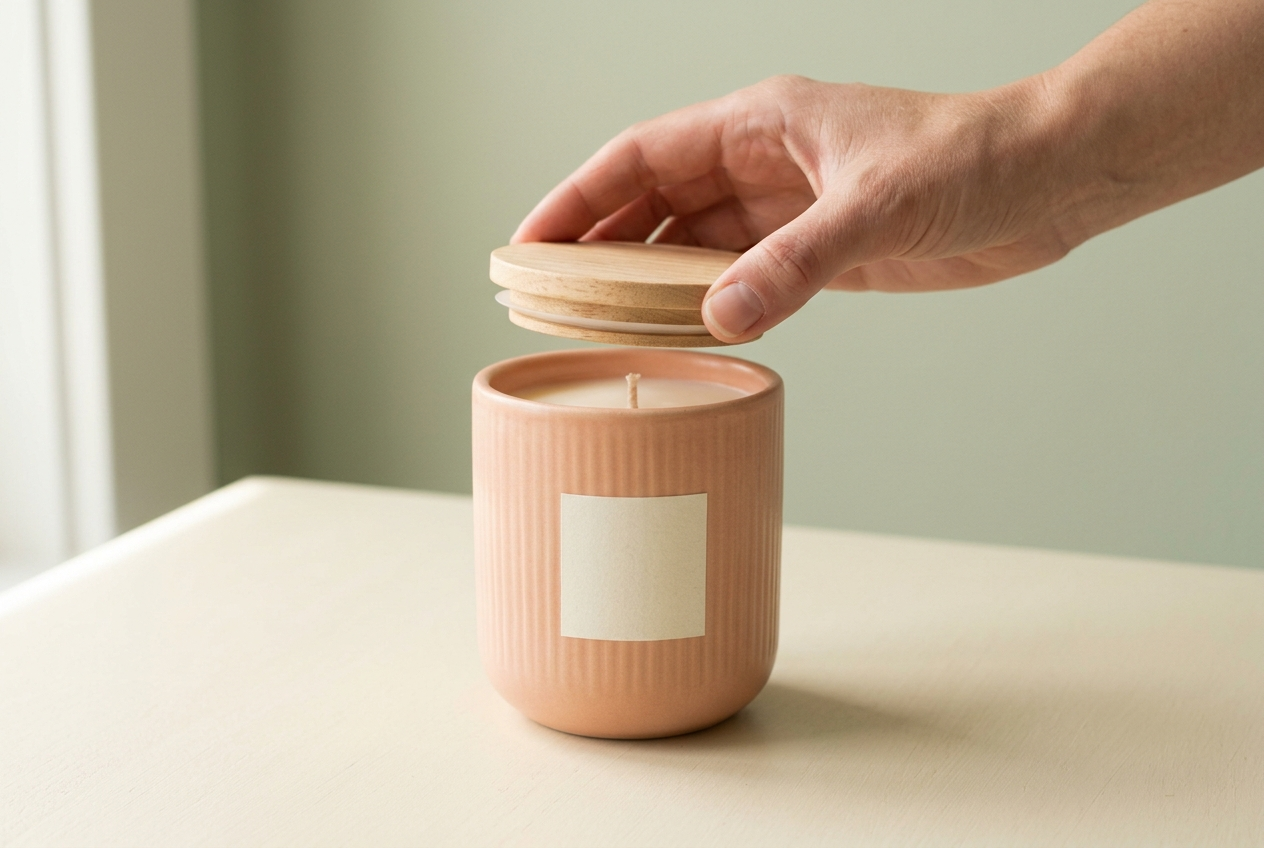
You don’t need to film hot wax to show that a candle belongs to a handmade business. Applying the label, placing the lid, preparing an insert or arranging finished stock can all communicate care. Choose an action you already perform and prepare the camera before beginning it.
If you film a making stage involving heat, follow your established working practices and keep camera supports clear of the task. Do not interrupt a controlled step to move a phone. A short process clip is optional; it should never become the reason that your workspace is awkward or your attention is divided.
Frame the action so the viewer sees its result. If you are applying a label, your fingers may initially cover it. Allow a moment after your hands move away. If you are placing an insert in a box, show the open box clearly enough that the action makes sense. You can trim pauses while keeping the important transition visible.
Shot four: explain scale or handling
A candle photographed alone on a large table can be difficult to judge. A hand placing the closed vessel down can provide useful context, especially when the movement is calm and the grip does not hide most of the product. Pair that view with dimensions or weight information where relevant in the listing.
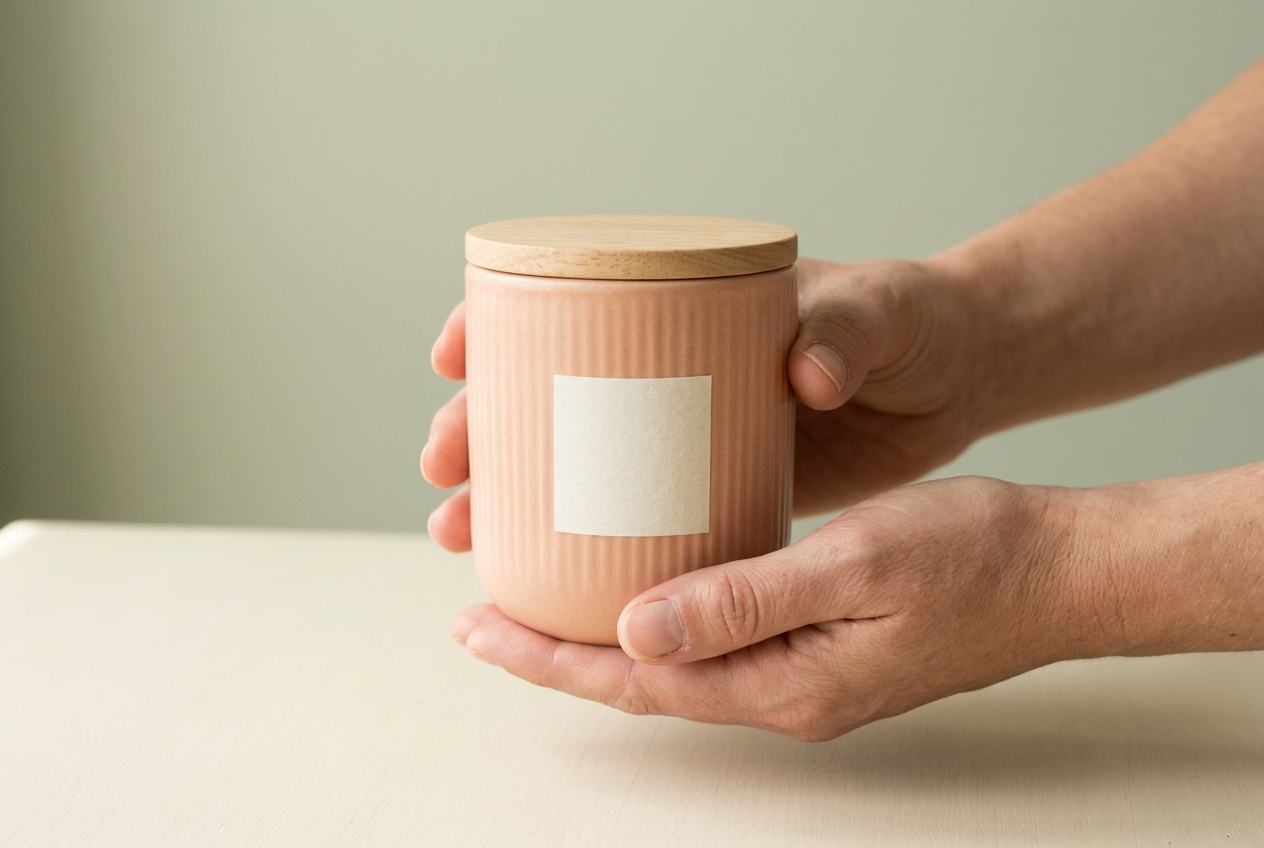
Choose a simple action with a clear beginning and end. Place the candle, release it and pause. If you also remove the lid, rotate the jar and move it toward the lens, the clip becomes harder to frame and focus. Separate those actions when each one adds information.
Scale views should feel believable. Avoid putting the candle very close to the lens while the hand is much farther away, because perspective can exaggerate the product. Keep the hand and vessel in a natural relationship. For a collection with different sizes, record one clear comparison rather than leaving viewers to compare separate styled scenes.
The reflection checks used in candle photography tutorials are useful for these clips too: inspect one still frame first, then keep the jar texture and label readable as the action begins.
Shot five: finish with the actual presentation
The last view can show the candle beside its real box, a neat packing moment, or the complete finished product again. Choose the ending that fits the video’s purpose. A gift presentation video needs the packaging; a vessel-detail video may be better ending on a clean view of the candle itself.
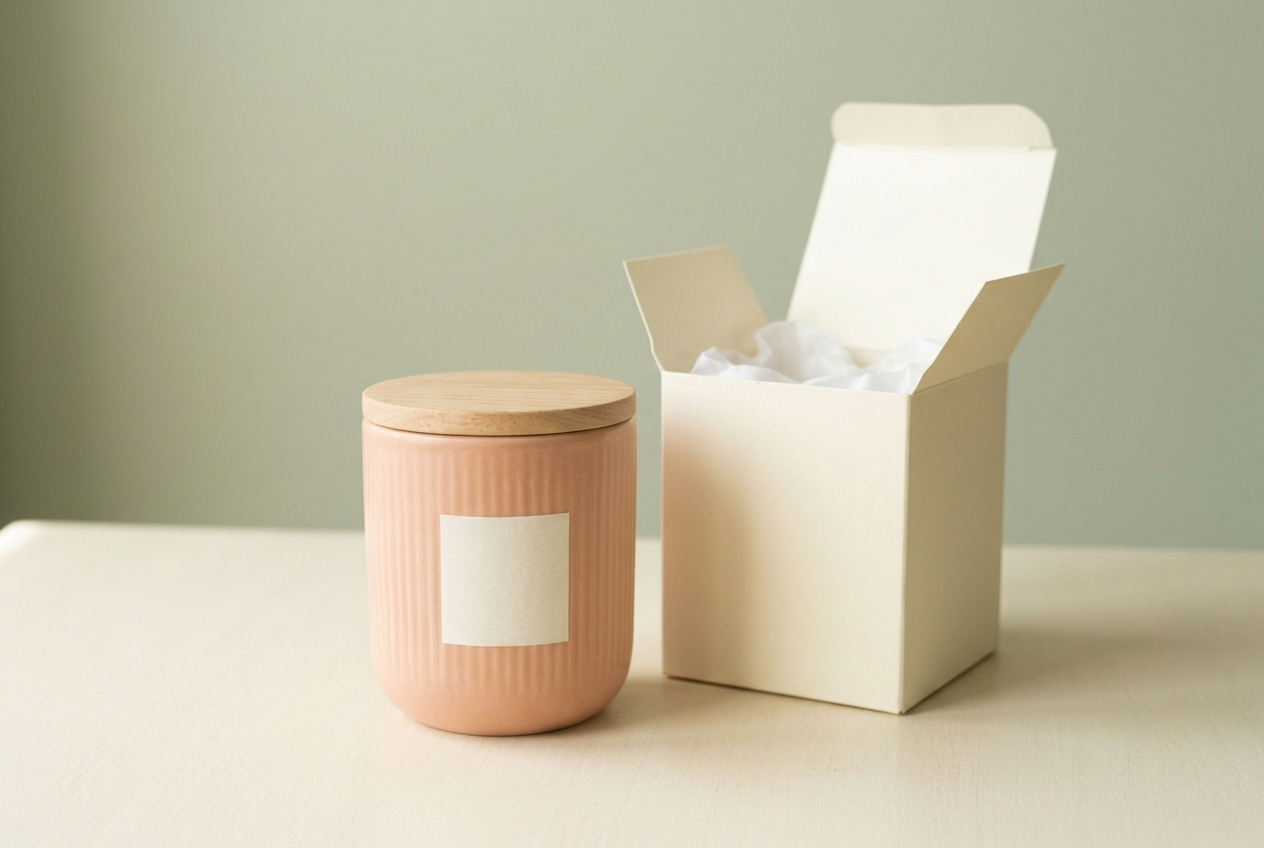
Show what is actually included. Tissue, ribbon, an insert and a lid can help someone understand the order, but decorative staging should not promise additional accessories. If you are showing one example of seasonal wrapping, make that clear in the product information rather than presenting it as a permanent inclusion.
Keep the final frame quiet enough for a short caption. Place the candle’s name in open space and avoid covering the label with a second block of text. The ending doesn’t need a complicated slogan. A clear product name and a complete view can do more than several lines competing for attention.
Assemble the clips around a single message
Watch your five clips without music first. Does the sequence explain one candle, or does it look like several unrelated scenes? Similar light and a consistent background help the viewer connect them. If the color changes strongly between clips, check whether the lighting changed or whether an automatic adjustment altered the recording.
Trim the waiting before and after each action. Keep enough of the action for it to remain readable. A label application needs a moment where the label can be seen; a packaging clip needs a moment where the contents are clear. A fast cut that removes the informative part defeats the purpose of recording it.
Add sound or text only after the visual sequence works. Avoid captions that imply scent can be experienced through the screen. You can name the scent or describe the intended presentation in your own product information, while letting the images show the physical details they can actually communicate.
Mistakes that weaken candle videos
Repeating the same label view. Change the question each clip answers. After the main view, show the surface, the size or the packaging instead of another nearly identical rotation.
Trying to make every candle look illuminated. An unlit candle can explain the vessel and wax clearly. A flame is not required for every product video. If you record one, use an appropriate setting and keep decorative materials and filming equipment clear.
Losing the glass edge against a pale background. Change the background tone or reflection so the outline remains visible. Raising exposure alone can make a transparent edge disappear further.
Making unsupported performance claims through styling. A scene is not a burn test. Keep demonstrations, decorative footage and factual product information distinct, and avoid suggesting a tested result that the video does not establish.
Frequently asked questions
Do all five shots need to be in one video?
No. They form a useful recording plan. Choose the clips that support one message, and keep unused views for another sequence. The main goal is to avoid repeating the same information.
Can I make a candle video without lighting the wick?
Yes. The vessel, wax surface, lid, scale, labeling and packaging give you plenty to show. An unlit session also makes it easier to rearrange views without involving a flame.
What if the window reflection covers the label?
Rotate the jar or move the camera slightly and watch the reflection change. Simplify the surroundings with a plain card if useful. Check the label through the lens before recording the whole sequence.
Should I show pouring even when the candle is finished?
Only use a genuine process clip that belongs to the work you are presenting. You can record labeling or packing instead. A finished-product video does not require you to recreate a production stage.
How much text belongs on the screen?
Use a short phrase for information the image can’t explain, such as the candle name or size. Keep it away from the product and preview it at a small display size. More text is not automatically more helpful.
Give the next session a clear starting point
Choose the candle, list the five roles and mark which one matters most today. Record that view carefully, then gather the supporting clips while the scene is ready.
The CraftToCamera Candle Content Kit on Etsy includes 15 candle video ideas with filming guidance and planning resources. Use it to choose a sequence, organize the shots and keep the next session focused. Check the listing for the current files and complete contents.